IGUHealth
You can use an external IGUHealth deployment as an identity provider for your application. The following are the setup instructions for setting up IGUHealth as an external IDP.
Setup
- Go to the Admin app of the external IDP IGUHealth tenant and select Client Applications from the left sidebar under security.
- Click on new and fill in the following parameters:
- Name: <user provided value>
- Grant Type: Authorization code
- Response Types: Token
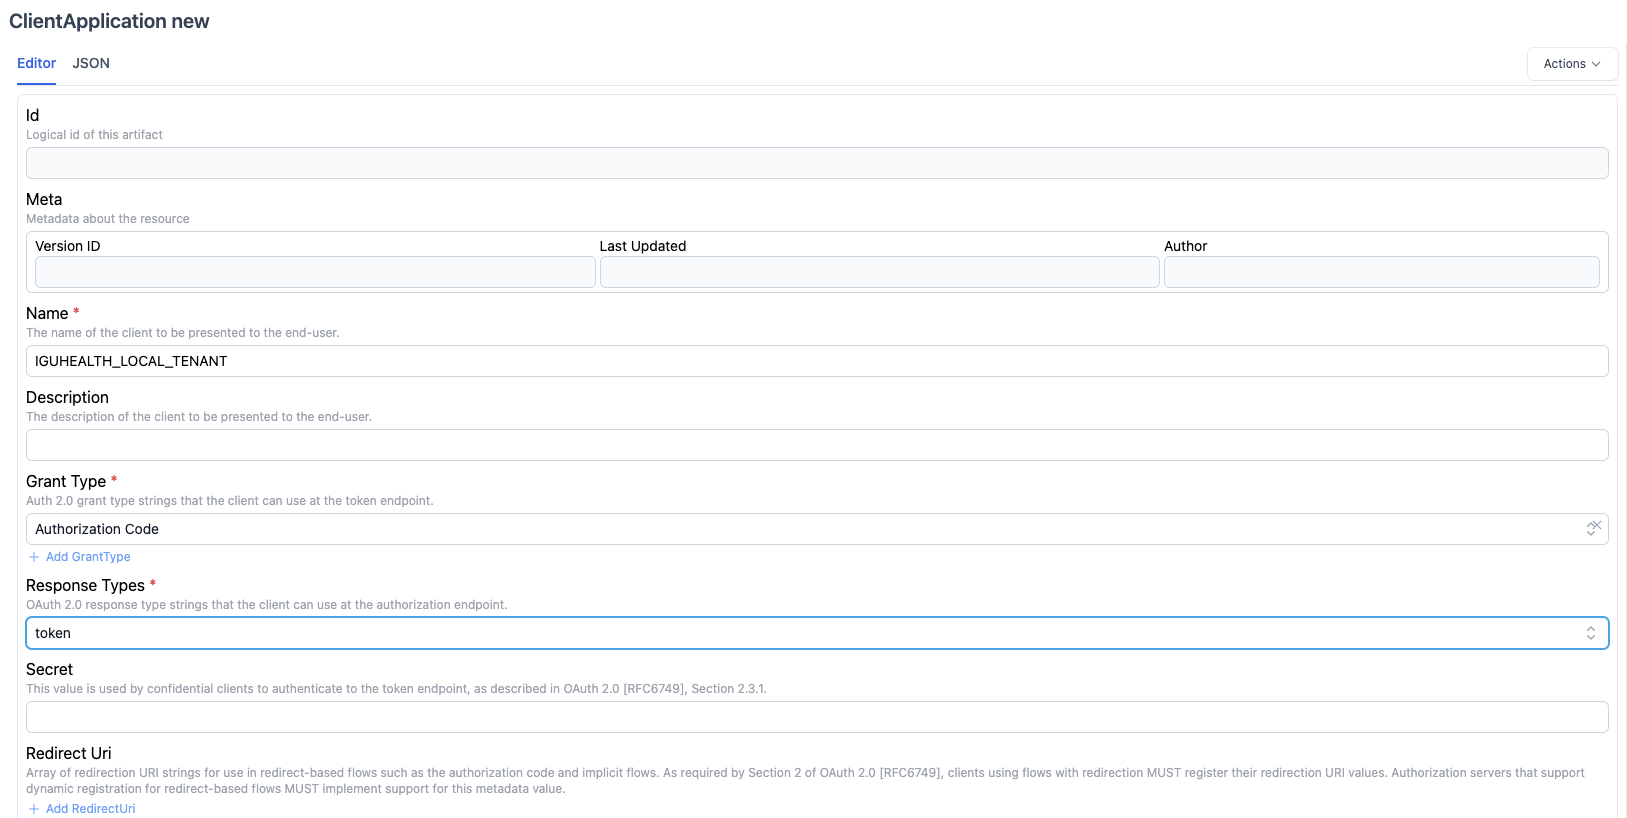
- Click create
- Make a note of the id of the newly registered client.
- Go to your IGUHealth tenant admin app and create an IdentityProvider resource.
- Set the status to active, set access type to oidc.
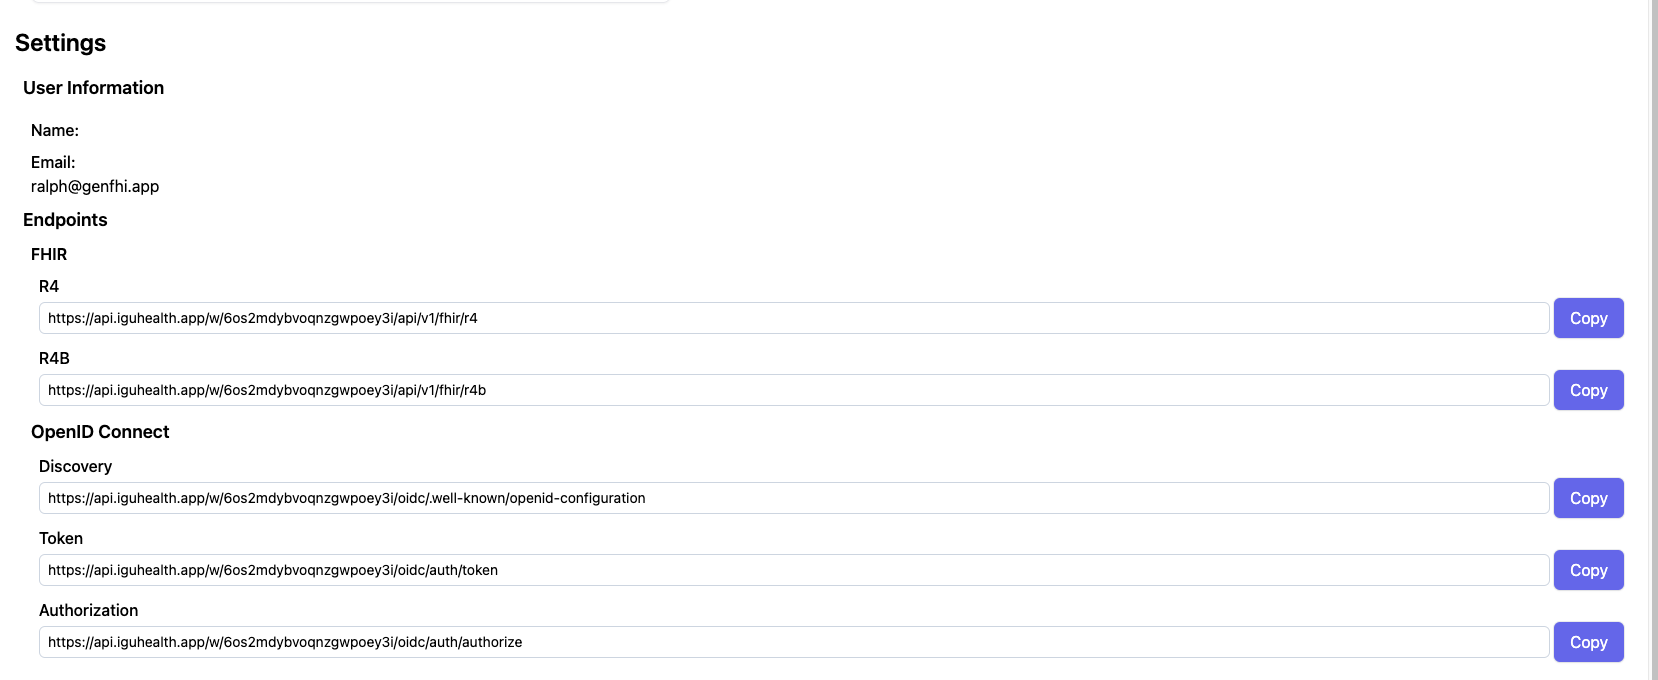
- Go to the Settings tab in the external IDP IGUHealth tenant.
- For your IDP Resource fill in
- Authorization Endpoint: Copy from step 7
- Token Endpoint: Copy from step 7
- Copy the discovery document URL from the external IDP IGUHealth tenant.
- Go to the url and copy the JWKS uri into the IdentityProvider resource.
- Add the following scopes:
- openid
- profile
- Fill in the clientID with the value from step 4.
- For PKCE settings, set the following:
- Code Challenge Method: S256
- Enabled: checked
- Click create
- Go to the registration information tab and copy the
Redirect URL. - Paste redirect URL in the client application from step 3.
- Log out and test the IGUHealth login.